Choose what you want to do and follow the short steps. Every guide is written for someone using Maintain CMMS for the first time.
FIND YOUR TASK
What would you like to do?
01
STEP-BY-STEP GUIDES
Getting started
Create the company workspace in the right order and understand where everything lives.
1Complete the 15-minute setup⌄
Enter the company, first site, first assets, users and work-order starting number. The setup screen shows the next step and saves progress as you go.
2Add and organise sites⌄
Start with the operating site, then use asset locations and parent equipment to build a structure that matches the real workplace.
3Invite users and set permissions⌄
Add each person once, choose the access level they need and give engineers a planner colour so allocated work is easy to recognise.
02
STEP-BY-STEP GUIDES
Work orders and the planner
Raise, schedule, assign and complete maintenance work without losing its history.
1Create and assign a work order⌄
Select Create work order, enter the job and asset, choose a planned date and time, allocate a technician and save. The job appears in both the register and planner.
2Use the job status correctly⌄
Use Approved before work starts, Waiting when parts or access delay the job, In progress while time is being recorded, and Completed only when the work is finished.
3Record notes, time, parts and evidence⌄
Open the job from its three-dot menu. Add the work carried out, time used, stock issued and supporting photographs or documents before completion.
03
STEP-BY-STEP GUIDES
Assets, sites and QR labels
Build a useful asset register and give engineers a direct route to the right equipment record.
1Add an asset⌄
Open Assets and select Add asset. Record the site, location, identifying details and parent asset where relevant, then select Add to asset list.
2Build an asset hierarchy⌄
Use Site as the top level, followed by area, system and individual equipment. Parent assets make complex lines easier to navigate without creating duplicate records.
3Generate and print a QR label⌄
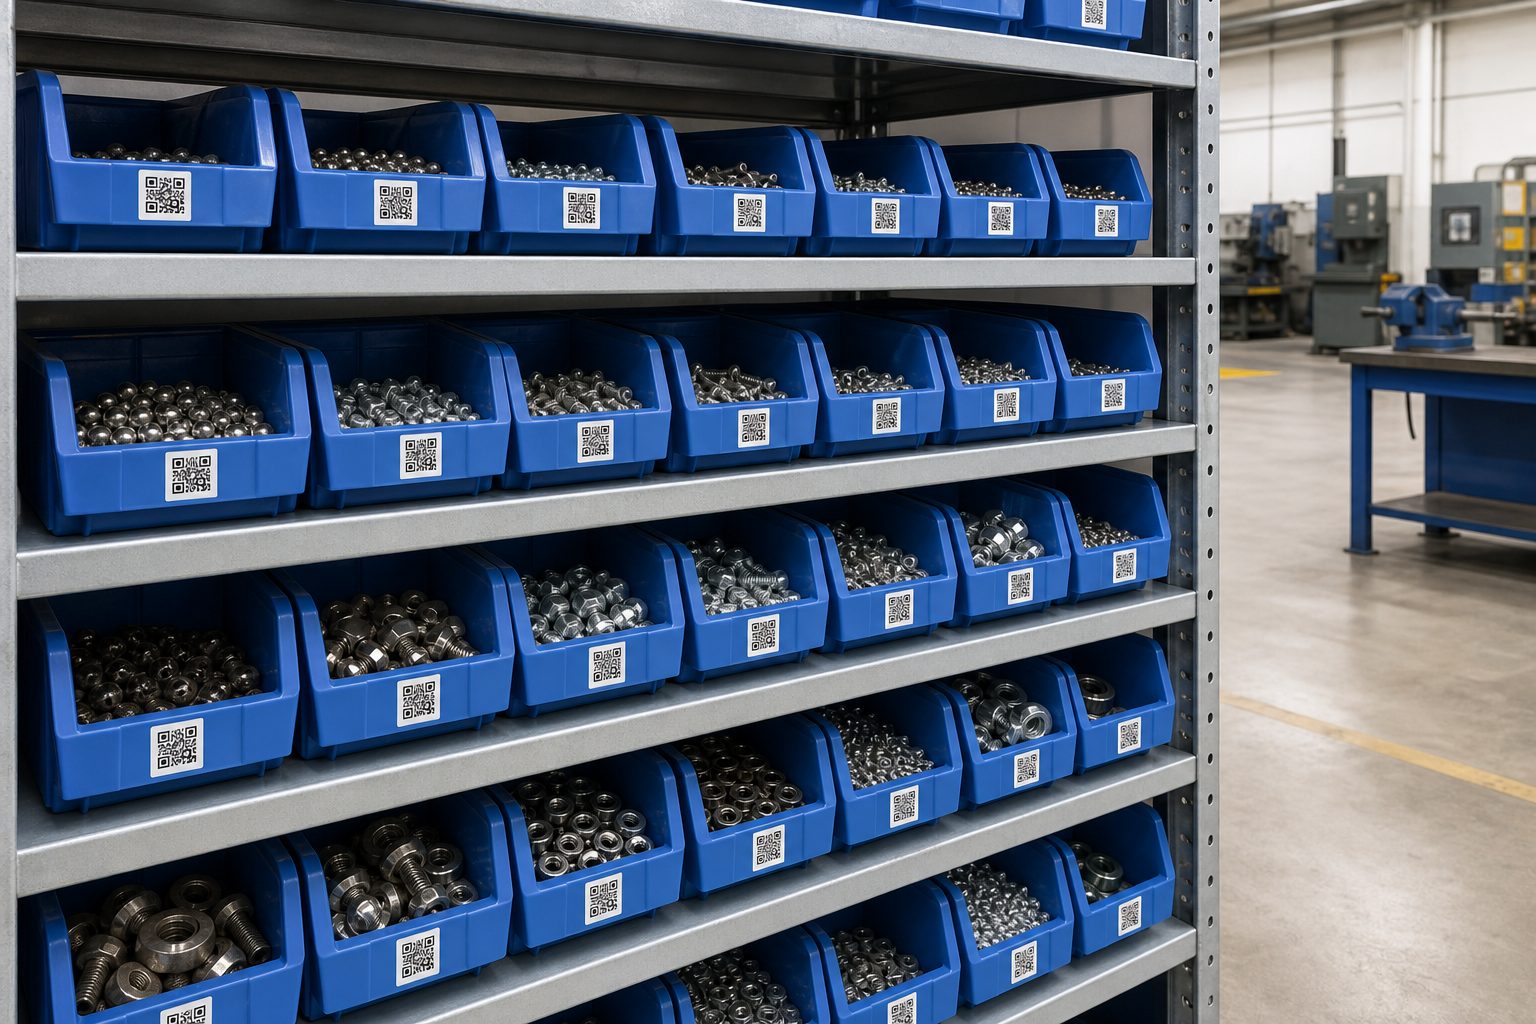
Open the asset menu and choose QR code. Maintain CMMS generates the label for download so it can be printed and fixed to the correct machine.
04
STEP-BY-STEP GUIDES
Preventive maintenance and inspections
Turn servicing and repeatable checks into planned work automatically.
1Create a preventive-maintenance plan⌄
Choose the asset, describe the service, set a calendar, running-hours or operations interval, then choose the first planned occurrence.
2Create and schedule an inspection⌄
Build the checklist, assign the inspector, select the start date and time, add the time allocation and choose whether weekends are included.
3Handle inspection defects⌄
Complete each checklist response accurately. A reported defect can create linked corrective work when the inspection is completed, preserving the relationship and audit history.
05
STEP-BY-STEP GUIDES
Parts, stock and suppliers
Know what is in stores, what was used and when stock needs attention.
1Add parts and suppliers⌄
Create the supplier first when appropriate, then add each part with its reference, storage point, quantity, minimum level and preferred supplier.
2Record stock movement⌄
Open the part from its three-dot menu and choose Record stock movement. Enter the quantity and reason so the audit trail explains every change.
3Set up a low-stock response⌄
Set the minimum level, prepare the email template and connect a Flow when your plan includes automation. Maintain CMMS can then notify the right recipient when stock reaches the threshold.
06
STEP-BY-STEP GUIDES
Flows and Asset Signals
Automate repeat administration and turn equipment readings into maintenance activity.
1Build a Flow⌄
Choose the event that starts the Flow, add any conditions, then select the work or notification actions. Test it successfully before switching it on.
2Create an Asset Signal⌄
Choose the asset and reading type, set the unit and threshold, then decide what event should be sent to Flows when the target is reached.
3Capture a reading during an inspection⌄
Add a meter-reading checklist item and connect it to the asset signal. The submitted value updates the reading history and can trigger connected work.
07
STEP-BY-STEP GUIDES
Library, documents and reports
Keep reusable information together and turn maintenance records into evidence.
1Create a reusable template⌄
Open Library, choose Templates, select the type and write the repeatable content. Templates provide consistent messages and instructions; they do not run by themselves.
2Store controlled documents⌄
Open Library and choose Documents. Select the correct category, use a clear title and upload only relevant, safe files within the displayed limits.
3Review performance⌄
Use Overview for immediate risk and Reports for trends such as completion, planned work and mean time to repair. Filters keep each view focused on the required site or period.
08
STEP-BY-STEP GUIDES
Account, billing and security
Control access, subscription details and the information that protects the workspace.
1Choose roles carefully⌄
Give owners and administrators only to people who need broad control. Use lower-permission roles for day-to-day work and remove access promptly when someone leaves.
2Manage the subscription⌄
Open the plan banner or billing area. Choose Standard or Pro and complete secure checkout; paid access is applied automatically after confirmation. Contact us to discuss Enterprise.
3Get help safely⌄
Never send passwords, card details or unnecessary sensitive records. Include the page, what you expected, what happened and a safe screenshot when logging a ticket.
TUTORIAL VIDEOS
Watch the task from start to finish.
See the real Maintain CMMS setup and product walkthroughs, then explore short videos on work orders, Flows and parts. Pick the task you need and watch at your own pace.
Tell us what you were trying to do and where you got stuck. We will route it to the right person.Log a support ticket →
READY TO GET MAINTENANCE UNDER CONTROL?
Take command of your maintenance.
Bring your work orders, assets and planned maintenance together. Give your team the tools to take control, with one flat monthly plan fee and no per-user or per-asset charges.